Hades 2 Chronos Boss Guide: Moves, Phases, and Survival Tips
Learn how to handle Chronos’s attacks, survive both phases, and build a clear plan for the Hades 2 boss fight. Includes quick-reference tables and an FAQ.
Jump to
How to approach the Chronos fight
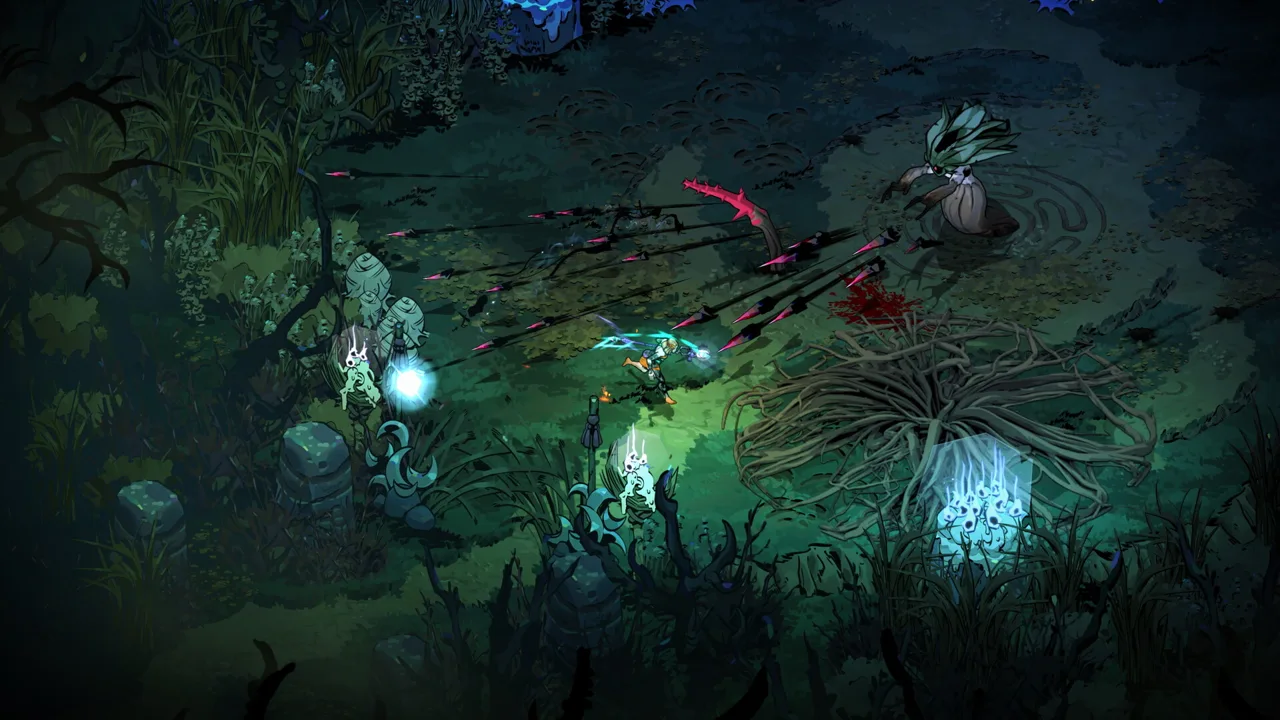
Chronos can punish a few seconds of hesitation, especially when his attacks overlap in the small arena. Knowing what each move signals gives you time to choose a safe position and keep dealing damage. This Hades 2 Chronos guide breaks down the fight’s phases, attack patterns, and practical ways to prepare for each transition.
The fight has two phases, with the first divided into four health segments and the second into two. The player video used for this guide also notes that Chronos is immune to the Arcana effect that slows time while channeling, so that effect will not provide extra breathing room here. You can watch the player video guide to the Chronos battle for its original demonstrations and loadout example.
A useful principle applies throughout: avoid hovering at medium range unless a particular attack forces you there. The player video describes several attacks as especially dangerous at that distance. Staying close or moving well away can make it easier to read the next move.
| Fight detail | What to expect | Practical response |
|---|---|---|
| Phase count | Two phases; four health segments in Phase 1 and two in Phase 2 | Treat each health threshold as a possible change in pressure |
| Time-slow Arcana | Chronos is immune to the channeling slow effect | Plan your dodges around his animations, not that slow |
| Opening arena | Six minions are present at the start | Clear them while avoiding unnecessary time near Chronos |
| Medium range | Several attacks can threaten this distance | Favor close positioning or a larger gap when possible |
The opening minions can use an area melee attack, but the player video describes them as vulnerable to stagger. A good approach is to clear them promptly and keep some distance from Chronos while doing so. The arena is small, so avoid getting boxed in by the adds or walking into an attack while focusing on them.
Phase 1: read the scythe and shadow attacks
Chronos’s first-phase attacks become easier to manage when you recognize their tells and know where their danger zones are. For Hades 2 Chronos, recognizing those tells gives you a practical way to choose where to stand; this Hades 2 Chronos guide organizes the moves around those danger zones. The table below summarizes the moves described in the player video. It is based on that video’s account of the fight, rather than an official move list.
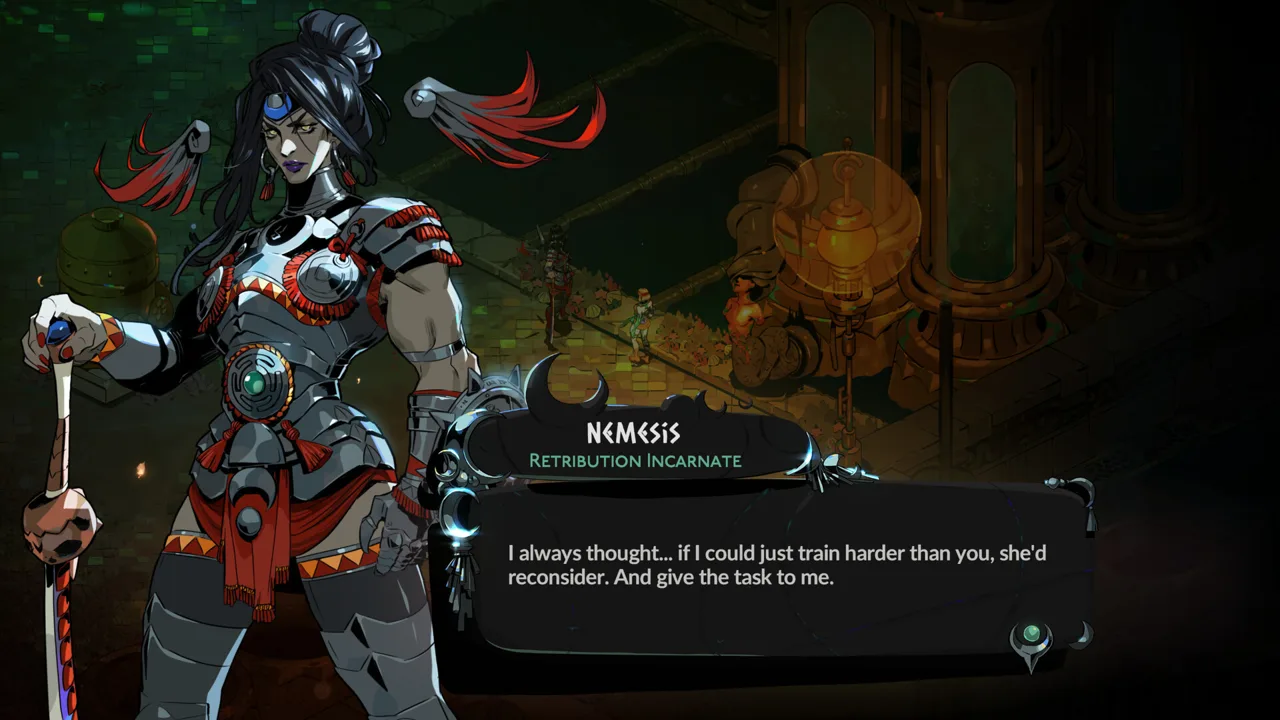 Image: Steam / Supergiant Games
| Attack | What it does | A useful response |
|---|---|---|
| Orb summon | Orbs circle Chronos and may linger after the summon | If safe, move close; otherwise wait for a clear opening. Orbs may disappear if they collide with a wall |
| Charge | Chronos lunges toward Melinoë, leaving shadows that explode after about a second | Sprint around him or move clear of the shadows after the lunge |
| Scythe swing | A slow, broad sweep leaves explosive shadows farther out | Try moving behind him as the attack begins |
| Scythe throw | The scythe travels in a half-moon path and can be used up to three times in a row | Avoid the medium-distance danger zone; dash through toward his back if you can react in time |
| Suck and spin | A rotating scythe pulls Melinoë inward; the pull itself does not deal damage, but touching the weapon does | Walk around his back while keeping enough space from the spinning scythe |
| Banners | Four banners grant nearby enemies a barrier that blocks one hit | Take them out during an invulnerable window or let area damage handle them |
| Teleport | A gold ring signals the move; a bubble at the old position freezes characters that touch it | Dash away from the bubble and watch for Chronos to reappear |
For the charge, the video notes that keeping a cast on Chronos can limit how far he travels. If you use that approach, keep watching the ground: the shadow trail still needs to be avoided. With the swing, the long windup can tempt you to dash too early. A good approach is to move behind him as the animation starts, then stay alert for the next attack.
The scythe throw is a key reason to avoid drifting at medium range. The player video describes the space directly in front of Chronos and the area behind him as safer than the middle of the arena during this move. Because he may throw the scythe repeatedly, wait for the sequence to finish before assuming you can safely attack.
Chronos’s health thresholds also change the pace of Phase 1. Use them as reminders to reset your positioning and watch for adds rather than assuming the next moment will be a damage window.
| Phase 1 health point | Change described in the player video | What to focus on |
|---|---|---|
| 75% | Chronos returns to his throne, summons minions, and surrounds himself with orbs | Give the area space and clear the minions |
| 50% | His charge and swing can appear in combinations of up to three | Prepare to dodge the full sequence instead of stopping after the first move |
| 25% | He summons two armored enemies and more orbs | Deal with the adds quickly, then return attention to Chronos |
At the 50% mark, the charge-and-swing combinations can be especially punishing. The video recommends anticipating as many as three attacks once a combo starts. Keeping your cast down may help limit the charge, while close-range dodges can carry you through the sequence. Choose the response that suits your weapon and current position, and avoid committing to a long attack animation until the combo ends.
Phase 2: survive the clock arena
Phase 2 introduces attacks that change where you can safely stand. For Hades 2 Chronos, reading each arena cue can help you find the safe position; Hades 2 Chronos also tests whether you can hold that position while waiting for the attack to finish. The first move is a screen-darkening attack with one highlighted clock position. Stand on the gold-marked spot to avoid the 999-damage hit, as described in the player video. The attack can recur later in the phase, so watch the arena instead of beginning a long attack before the safe area is clear.
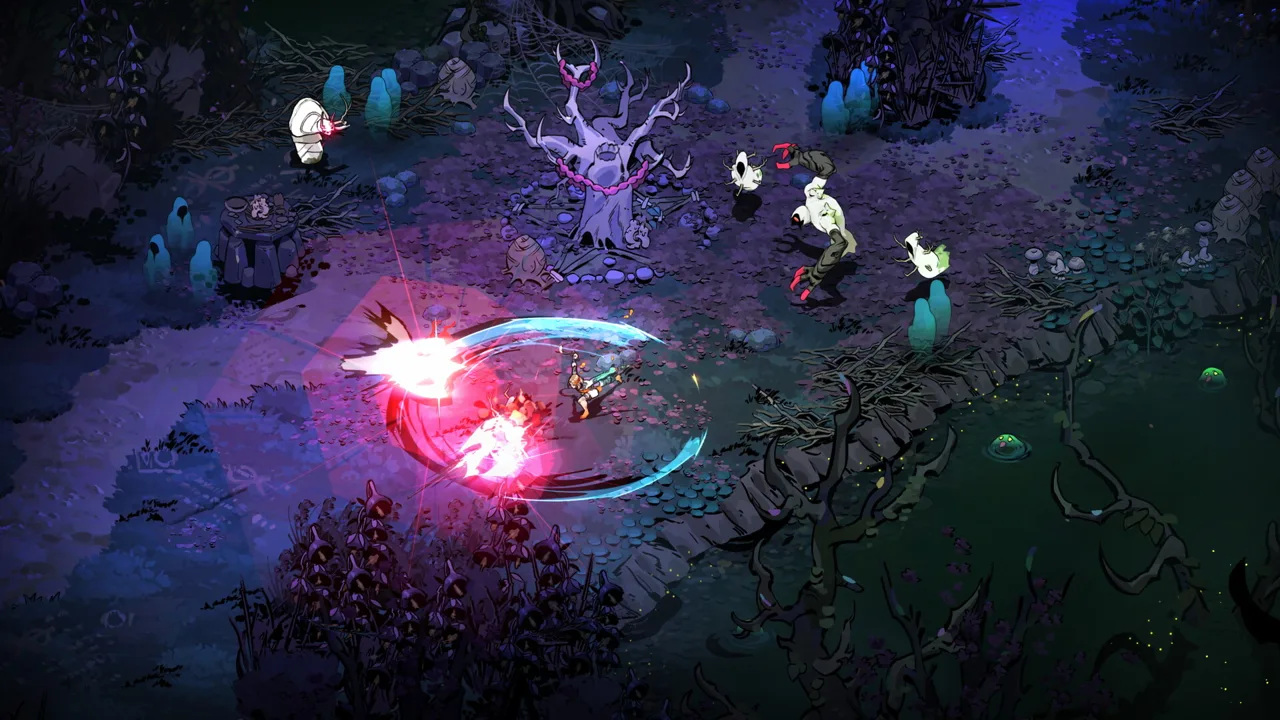 Image: Steam / Supergiant Games
There is also a second darkened-screen attack in which Chronos moves to the center and leaves a ring around him as the safe zone. The video describes that ring as larger and says the delay before he resumes attacking can provide an opening for damage. Move into the safe area first, then use the opening only if you can finish your attack before the pattern changes.
| Phase 2 attack | Hazard | Safer response |
|---|---|---|
| Single highlighted clock spot | Standing anywhere other than the highlighted clock time results in a 999-damage hit | Stand on the gold-highlighted time on the clock |
| Center safe ring | Most of the arena darkens while a ring around Chronos remains safe | Move into the ring and take a measured damage window |
| Golden bubbles | Floor rings produce bubbles that stun on contact; you cannot shoot most projectiles through them | Find a clear position as they appear and avoid moving through them |
| Inward ring | A ring travels from the arena’s edge toward the center | Save a dash to cross it |
| Clock hands | Moving hands deal contact damage; Chronos can also summon stationary hands onto the ground | Reposition as they appear, then wait for them to pass or disappear |
| Slowdown | Melinoë’s movement slows for about five seconds | Keep calm and save your dash for a clearly signaled hazard |
The bubbles can make the arena feel cramped. According to the player video, they appear after floor rings and briefly stun characters that touch them. The video also says you cannot shoot most projectiles through the bubbles, so ranged attacks may be interrupted. A good approach is to avoid unnecessary movement once the bubbles appear and look for an open lane before committing to an attack.
For the moving clock hands, the video describes the larger hand as dealing about 40 contact damage and the smaller one about 20. Both move clockwise, and an audio cue can help you track them. Chronos can also summon stationary hands onto the ground. Adjust your position as the hands appear, then avoid crossing the marked areas until they disappear.
Chronos can also summon orbs that rotate around the arena. The player video says you can stay close to him during the summon, but some orbs nearer to him linger longer. Check for those remaining hazards before rushing into your next attack. When Chronos slows Melinoë for about five seconds, avoid panic-dodging at the start of the effect; keeping a dash available may help when another attack overlaps.
At 50% health in Phase 2, Chronos moves to the center and summons hourglass minions one at a time, starting at the 12 o’clock position and moving clockwise. The video says these enemies have little health, but leave stun bubbles when defeated. It also notes that Chronos may return to using combinations of up to three charge and swing attacks below this threshold. A practical approach is to focus on the minions while tracking Chronos, then make space around the bubbles their deaths leave behind.
Loadout ideas and a repeatable plan
A strong run starts with a plan for the kinds of openings the fight offers. For Hades 2 Chronos, the player video’s example uses the Aspect of Artemis for the daggers and emphasizes Omega attack damage; this Hades 2 Chronos loadout also pairs Aphrodite’s attack boon with the Aspect’s parry option. It names Explosive Ambush and Skullking Slash as useful hammer choices if they appear. These are suggestions from the player video, not requirements for winning.
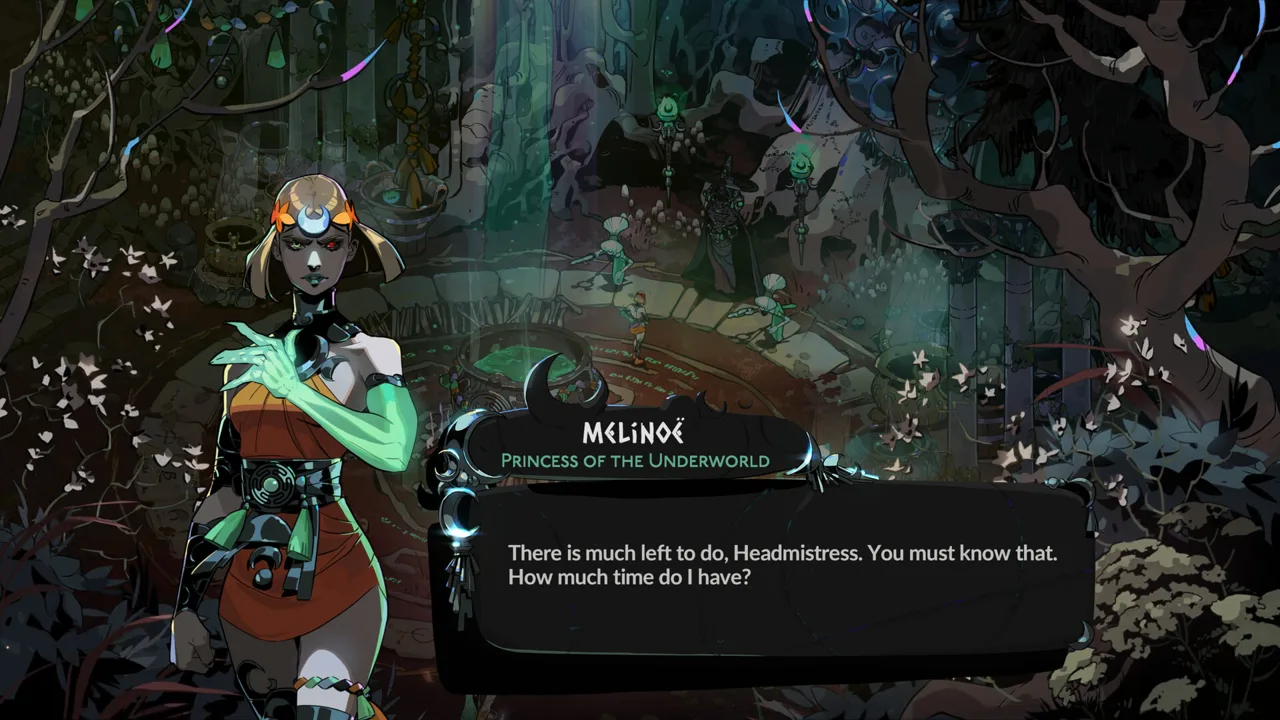 Image: Steam / Supergiant Games
| Loadout element | Example from the player video | Why it may fit this fight |
|---|---|---|
| Weapon and aspect | Daggers with the Aspect of Artemis | The build centers on Omega attack damage and includes a parry option |
| Attack boon | Aphrodite’s attack | The video pairs it with the aspect for damage |
| Hammer options | Explosive Ambush or Skullking Slash | The video names these as possible useful picks |
| Arcana | Death Defiance and The Lovers | The video recommends Death Defiance and says The Lovers can block the first three instances of damage in boss fights |
Build availability depends on what you encounter during a run, so adapt the plan to your weapon and boons. The important tactical lesson is to keep enough control of your positioning to respond to the scythe, shadows, bubbles, and clock hands. Damage matters, but an attack that leaves you trapped in a hazard can cost more than the opening is worth.
A simple loop can help you stay organized:
- At the start: Clear the six minions while keeping away from Chronos.
- During Phase 1: Identify each windup, then choose a close or distant position. Avoid the middle distance during scythe throws.
- At health thresholds: Expect adds or attack changes; check the arena before resuming offense.
- During Phase 2: Prioritize the highlighted clock spot, safe ring, bubbles, and hands over dealing damage.
- After each dodge: Confirm the hazard has ended before starting a long attack.
The video also warns that Chronos may use additional moves when Death Defiance triggers, which can create a dangerous moment. Treat a triggered Death Defiance as a cue to reassess the arena immediately. Keep watching his animation rather than assuming the brief recovery gives you a free attack.
FAQ
Is Chronos immune to time-slow effects in Hades 2?
The player video says Chronos is immune to the Arcana effect that slows time while channeling. Plan your movement around his attack tells instead.
How do you avoid Chronos’s 999-damage attack?
Stand on the single gold-highlighted time on the clock when the screen darkens. The player video says this move occurs at the start of Phase 2 and can recur during the phase.
What changes at 50% health in Phase 2?
Chronos moves to the center and summons hourglass minions one at a time around the arena. The video says defeated minions leave stun bubbles, so watch your footing while clearing them.
What is a useful range to fight Chronos from?
The player video describes medium range as dangerous for several attacks, including the scythe throw. A good approach is to stay close or create more distance, then adjust for the move he signals. That positioning advice applies throughout Hades 2 Chronos.
Continue with
 Hades 2 Hecate Boss Guide: How to Read Her Attacks and WinLearn how to spot Hecate’s attack cues, handle her doubles and sheep transformation, and find chances to deal damage in Hades II. Includes a short FAQ.
More in Bosses
Hades 2 Prometheus: Learn His Attacks, Phases, and Timing
Learn how to handle Prometheus in Hades 2, from his eagle and fiery attacks to the memory-flame sequences at 75% and 25% health. Includes a short FAQ.
Hades 2 Scylla: Track Siren Attacks and Target Safely
Learn how to handle Scylla and the two Sirens, read their attacks, and focus your damage to make the Hades 2 boss fight more manageable. With quick tables.
Hades 2 Typhon Guide: Attacks, Phases, and Survival Tips
Learn how to read Typhon’s attacks in Hades II, handle the egg waves, and prepare your build and keepsake for the fight. Includes tables and an FAQ.
Join the community
Official channels for news, updates and player help: